Autumn Leaves Wall Hanging
Project Description
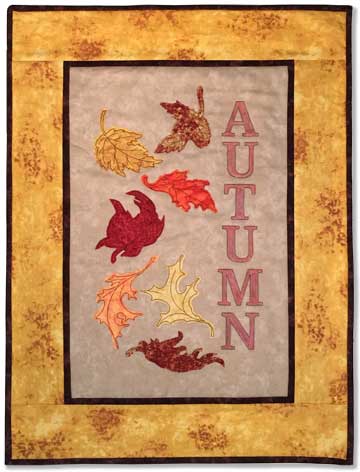
Simple outline or “redwork” style designs can be so versatile. Here I’ve adapted them for raw edge applique and quilting.
After creating the original leaves for another project some years ago, I added a few more and while I was doing that, I had the idea for this project. It’s really quite similar to the technique I used in Pen & Flowers but instead of layering the fabric underneath the main fabric for a shadow effect, I placed it on top.
Then the trick comes in that you have to know where to place your pieces unless you plan to trim the fabric off after stitching. This collection includes a plain placement line for each leaf. Combine the two designs, stitch the outline first, place your cutout leaf (cut it larger than the placement line) then stitch the detailed leaf design.
If you have Embrilliance Stitch Artist, or any other digitizing software for that matter, find a font you like and type in AUTUMN. Then simply apply a bean (triple) stitch to the outlines. I colored it in with Inktense colored pencils.
I go into more detail on this project in this blog post: How to Use Inktense on Fabric with Embroidery.
Although this collection is called “Autumn Leaves,” the leaves don’t necessarily have to stitch to that season.
Credits
Designed and made by Lindee Goodall (10/27/2016)
Products Used
