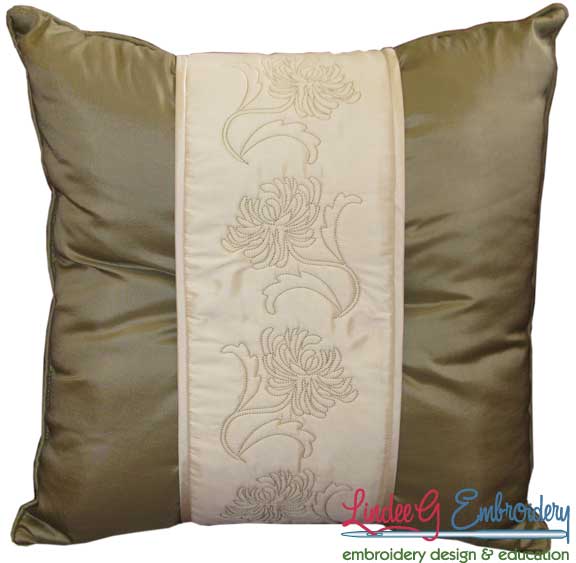
Chrysanthemum Continuous Pillow Wrap
Project Description
The chrysanthemum is the November birth month flower and also the thirteenth wedding anniversary flower. In general, chrysanthemums symbolize cheerfulness, optimism, wonderful friendship, and enduring love.
This month’s Echidna PIE Training Series lesson is on creating and stitching continuous borders. If you browse through all the projects in the gallery, you’ll find several that have continuous border designs and one that goes crazy with repeats around the perimeter of a cape.
You can make a continuous design out of almost any combination of designs. I like to stick to designs that only have a few colors to keep things simpler at the machine. Also, I like to plan the design so that I’m not having to mirror the designs for the next hooping—just too darn easy to mess up!
This is month 5 and in this lesson, I show you how to build and plan a continuous border design. In some ways, we’re expanding on lesson 2, Perfect Placement.
To keep our project simple, we’ll make a continuous design to embroider on a pillow wrap. While you could do it with paper cut-outs to plan placements, I’ll show you how to do it in a customizing program.
Of course, I’ll be using Embrilliance Essentials and I’m sure you can use a very similar process in other programs.
Avoid editing stitch files in a digitizing program unless you know for sure your program will not change the stitches just by opening a stitch file. Some digitizing programs can totally rearrange stitches in a stitch file!
Continuous borders are best stitched with a specialty hoop and they’re available for most machines; check with your dealer.
Credits
Designed and made by Lindee Goodall (10/15/2014)
Products Used

